Blog
In a field that evolves daily, staying ahead means staying informed.
Explore in-depth articles designed to help you solve complex challenges,
maximize your machine’s ROI.
Stay ahead in a competitive market.


In a field that evolves daily, staying ahead means staying informed.
Explore in-depth articles designed to help you solve complex challenges,
maximize your machine’s ROI.
Stay ahead in a competitive market.
News | Oct-22-2026 | Mimowork
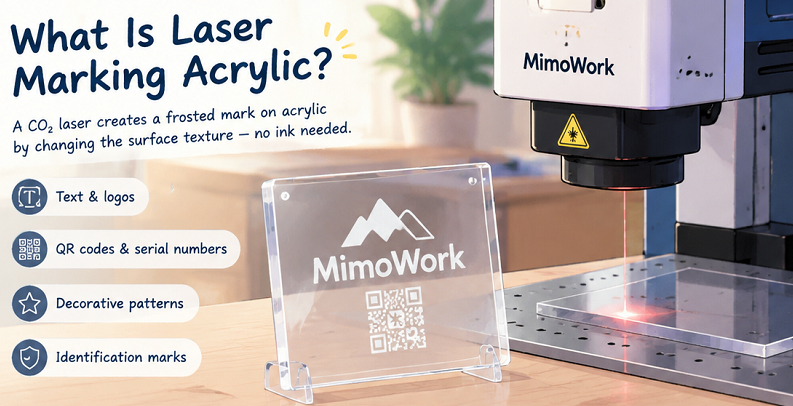
Laser marking acrylic creates frosted designs, text, logos, and identification marks on acrylic surfaces. The best results depend on the acrylic type, laser source, power, speed, focus, and scanning settings. For many acrylic marking applications, a CO2 laser is a practical choice because acrylic absorbs its wavelength effectively.
However, not every acrylic sheet produces the same marking effect. Cast acrylic typically develops a distinct frosted appearance, while extruded acrylic may respond differently depending on its formulation and surface characteristics. Choosing the correct material and balancing the processing parameters are essential for producing clear marks without excessive melting, discoloration, or unwanted surface damage.
This guide explains how laser marking acrylic works, how to optimize processing settings, and how to select a MimoWork system for personalized products, signage, and batch marking.
Laser marking, engraving, and cutting all use focused laser energy, but they serve different purposes.
| Process | Main purpose | Typical acrylic result |
| Laser marking | Create visible text, patterns, or identification details | Surface frosting or localized surface modification |
| Laser engraving | Remove material to create a recessed design | Deeper engraved areas with a textured appearance |
| Laser cutting | Separate material along a programmed path | Through-cuts with finished edges |
The distinction is not always absolute. CO2 laser marking may involve slight surface removal, while shallow engraving can resemble surface marking. The intended depth, appearance, and production requirements help determine the most appropriate process.
For logos, serial numbers, decorative graphics, and QR codes, surface marking is often sufficient. Deeper engraving may be more suitable when a recessed texture is required, while cutting is necessary for producing acrylic shapes and components.
A CO2 laser typically operates at a wavelength of approximately 10.6 μm, which acrylic absorbs efficiently. When the beam interacts with the surface, localized heating can cause the material to undergo thermal changes, creating a frosted or textured mark.
On suitable cast acrylic, this effect often appears white or translucent against a clear, colored, or darker background. The contrast comes primarily from changes in surface texture and light scattering rather than conventional ink deposition.
The final appearance depends on the acrylic formulation, color, surface finish, laser parameters, and marking method. Excessive energy can cause melting, bubbling, rough edges, or yellowing. A controlled process aims to create enough surface modification for visibility while limiting unnecessary heat input.
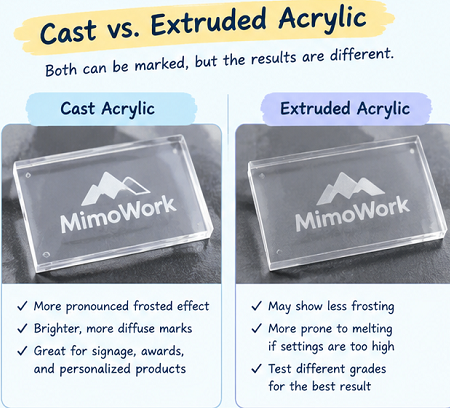
Cast acrylic is produced by casting liquid acrylic material into molds. It is widely used for decorative panels, signage, awards, and customized products because it often produces a pronounced frosted effect under suitable CO2 laser conditions.
When marked correctly, the processed areas can appear bright and diffuse, creating strong visual contrast against the surrounding surface. This makes cast acrylic a good starting point for projects that require readable text, detailed logos, or decorative patterns.
For buyers comparing cast acrylic laser marking results, material testing remains important. Different colors, thicknesses, and manufacturers can produce noticeably different finishes.
Extruded acrylic is manufactured by pushing material through an extrusion process. It is often selected for applications that require consistent sheet thickness and economical production.
Its marking response may differ from cast acrylic, with some grades producing less pronounced frosting or showing more noticeable melting under unsuitable settings. This does not make extruded acrylic unsuitable for every marking task; the result depends on the specific material and desired appearance.
Test both materials when selecting stock for signage, display components, or identification panels. Compare contrast, edge definition, consistency, and the appearance of small text before committing to a production batch.
Power and speed determine how much energy reaches the acrylic surface. Higher power increases energy output, while slower scanning generally increases the time the beam interacts with each area.
Excessive energy can soften the surface, create rough marks, or cause localized melting. Insufficient energy may produce weak or inconsistent contrast.
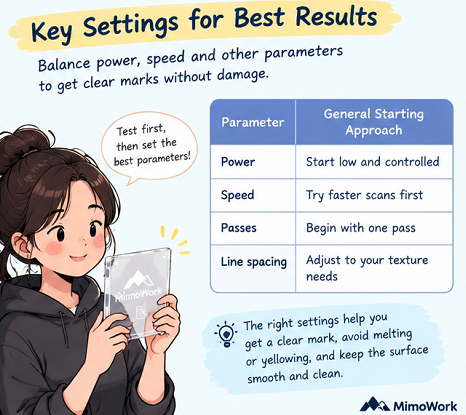
| Parameter | General starting approach | What to watch for |
| Power | Begin at a low, controlled level | Weak marks at too little power; melting at excessive power |
| Speed | Test relatively fast scans before slowing down | Incomplete marking or excessive heat buildup |
| Passes | Start with one pass | Additional passes may deepen damage or reduce clarity |
| Line spacing | Adjust according to the required texture | Gaps at wide spacing; excess heat at tight spacing |
These are process-development guidelines rather than universal machine settings. The appropriate values depend on the laser source, rated power, beam characteristics, marking area, acrylic formulation, and software.
For acrylic laser marking settings, create a small test grid with several power and speed combinations. Evaluate the contrast, edge sharpness, surface texture, and processing time together. The darkest or brightest mark is not necessarily the best if it also shows melting or distorted details.
DPI and PPI describe different aspects of image resolution and laser output. DPI commonly refers to dots per inch in raster workflows, while PPI can refer to laser pulses per inch or pixels per inch, depending on the control software.
Higher raster resolution can improve the reproduction of fine graphics, but it may also increase the number of scanning lines and heat delivered to the surface. Excessively tight line spacing can cause overlapping thermal effects, making small details appear blurred or uneven.
Lower resolution may reduce processing time for large graphics, although very widely spaced lines can leave visible gaps.
Choose resolution according to the smallest feature in the design. Fine text and detailed logos may require tighter spacing than large decorative fills. Run tests with the actual artwork to find the balance between clarity, surface finish, and throughput.
Correct focus concentrates the laser energy at the intended processing plane. Incorrect focus can produce inconsistent marking width, uneven contrast, and blurred details, particularly across larger workpieces.
Start by setting the focal distance according to the machine manufacturer’s instructions. Ensure the acrylic sheet lies flat and remains stable throughout processing.
Slight defocusing may be useful in certain applications when a wider or softer mark is desired, but it can also reduce fine-detail definition. Treat focus adjustment as a controlled test rather than a universal trick for improving results.
For larger acrylic panels, check whether the surface remains sufficiently level across the entire marking area. If the material bows or varies in height, a single focal setting may not produce uniform results everywhere.
Air assist directs airflow toward the processing area, helping remove debris and manage heat. Appropriate airflow can reduce smoke deposits and improve visibility around the mark.
However, more airflow is not always better. Depending on the setup, excessive airflow may disturb lightweight components or provide little additional benefit for a shallow marking task. Poorly managed extraction can also allow smoke to settle back onto the surface.
Use the airflow recommended for the specific machine and process, and adjust it through material testing. Combine appropriate air assist with effective fume extraction to keep the work area cleaner and reduce residue on the acrylic.
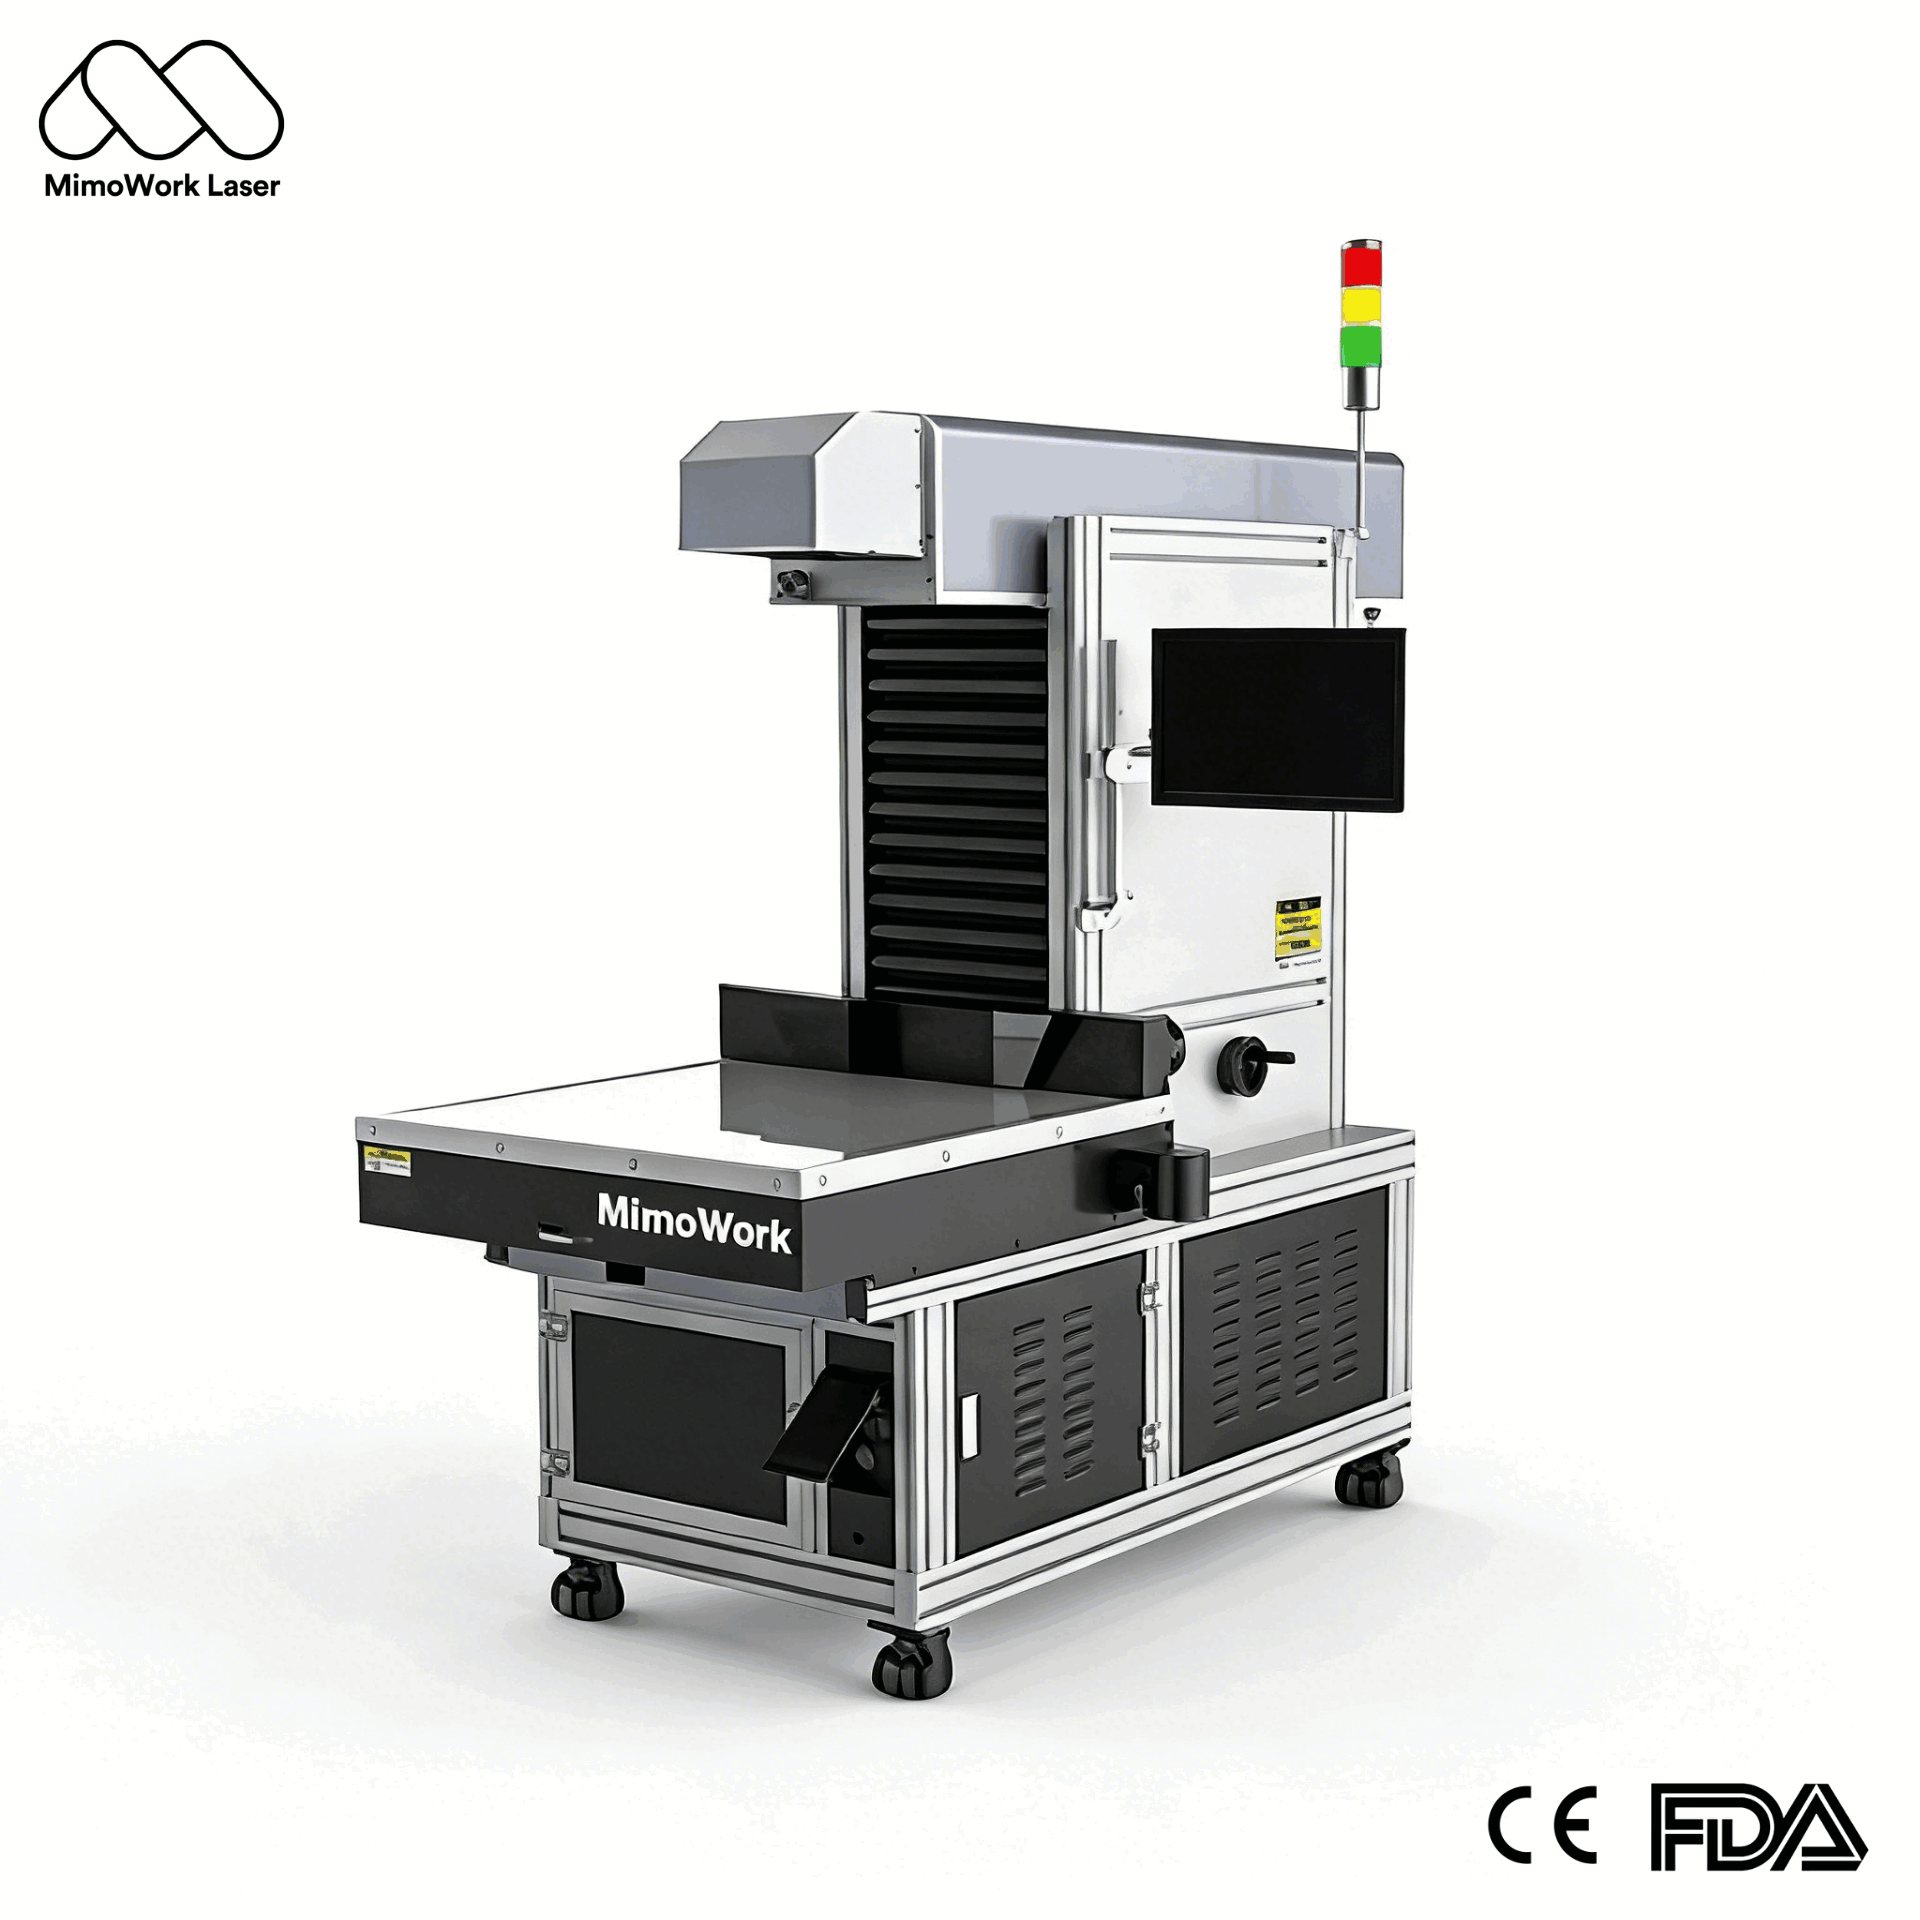
The best equipment depends on whether the priority is fast, repeated marking or processing larger acrylic sheets with one machine.
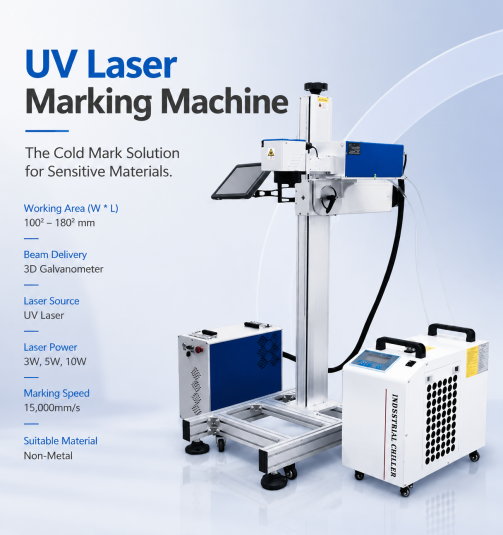
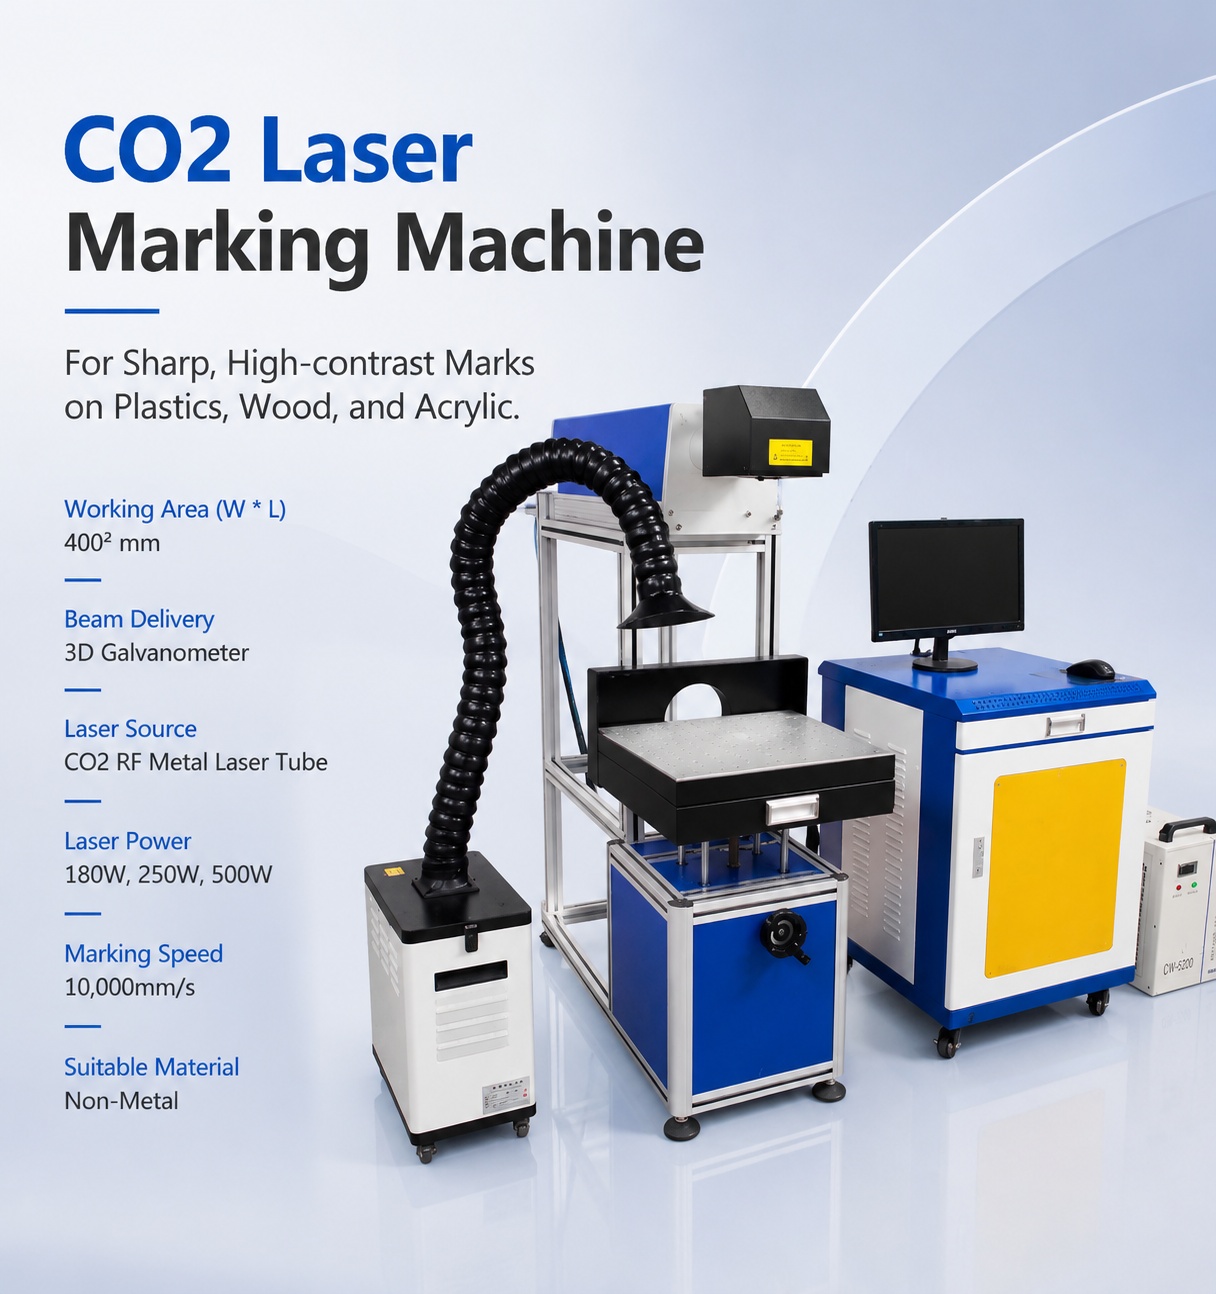
A CO2 galvo marking system uses galvanometer-controlled beam movement to scan designs rapidly across a defined working field. It is worth considering for repeated logos, QR codes, product identifiers, and decorative graphics.
MimoWork’s G-40 acrylic marking system has a listed working area of 400 × 400 mm and power configurations of 250W or 500W. Its specified marking speed reaches up to 15,000 mm/s, depending on the configuration and application.
The combination of fast scanning and a defined marking area can support production workflows involving repeated graphics and large quantities of small components. However, actual throughput depends on artwork complexity, marking density, material response, and setup time.
Before selecting a CO2 laser marking acrylic system, confirm that the marking field accommodates your products and that the tested results meet your contrast and detail requirements.
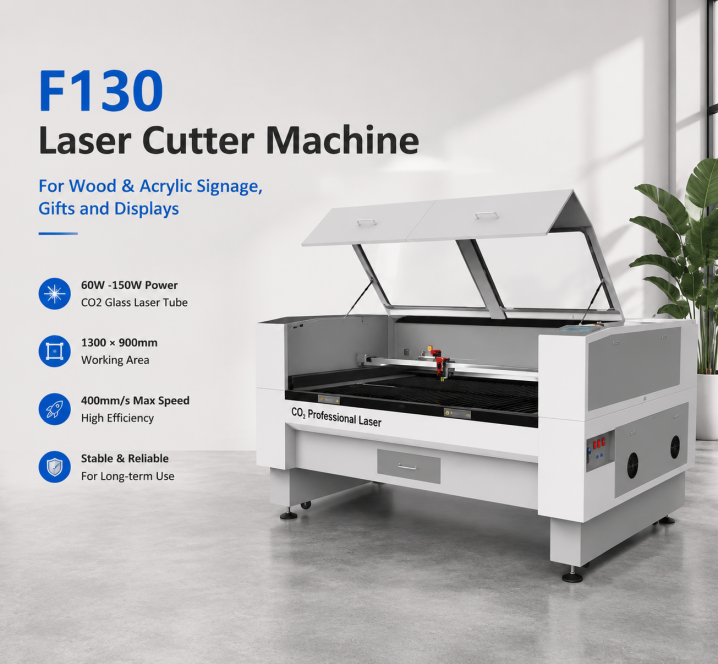
A flatbed CO2 laser engraver is more suitable when the workflow involves larger acrylic panels, varied part sizes, engraving, and cutting. Its working area accommodates broader layouts, while the same system can perform different operations when configured appropriately.
This option is worth considering for signage, display panels, decorative sheets, and customized products that require both surface graphics and cut-out shapes.
A flatbed machine and a galvo marker serve different production needs. Galvo systems prioritize rapid beam scanning within a defined field, while flatbed systems provide a larger processing area and greater flexibility for sheet-based work.
Compare usable working area, cutting capability, positioning requirements, extraction, and the actual cycle time for your most common jobs before choosing between the two.
Related guide:https://www.mimowork-laser.com/blog/can-co2-lasers-cut-clear-acrylic
Start with a material sample and reduce excessive energy input. Test a faster scanning speed, lower power, and a single pass before increasing energy gradually. Check the focus and ensure the acrylic is suitable for laser processing.
If the mark appears uneven, inspect the material surface and confirm that the sheet is flat. Adjust resolution and line spacing if filled areas accumulate too much heat.
Also check the protective film and manufacturer recommendations. Some films or coatings are not suitable for laser exposure and may contaminate the surface or release hazardous fumes.
Choose an acrylic grade known to produce the desired frosting effect, and test it before production. Cast acrylic is often a useful starting point for white, frosted marks.
For designs requiring stronger contrast, consider whether marking the reverse side, using a compatible coating, or applying a suitable paint fill after engraving fits the product requirements. Each method changes the workflow and may require additional finishing.
Inspect the result under the lighting conditions in which the finished product will be used. A mark that appears clear under direct light may look less distinct against certain backgrounds.
Acrylic processing can generate fumes and airborne particles, so effective extraction and suitable ventilation are essential. Use the machine’s recommended extraction system and follow the acrylic supplier’s safety guidance.
Operate the laser with appropriate guarding and interlocks, and never leave the machine running unattended. Keep combustible materials away from the processing area and follow the manufacturer’s fire-prevention procedures.
Always verify the exact plastic composition before laser processing. Avoid PVC and other chlorine-containing materials because laser exposure can release highly hazardous and corrosive gases.
Successful acrylic laser marking depends on choosing compatible material and controlling power, speed, resolution, focus, and airflow. Cast acrylic is often a strong candidate for frosted white marks, while extruded acrylic should be tested against the intended finish and production requirements.
For rapid, repeated logos and QR codes, a CO2 galvo marker may offer the required scanning speed. For larger sheets and combined engraving and cutting workflows, a flatbed CO2 system may be more suitable.
Before investing in equipment, test representative acrylic samples and actual design files. MimoWork can help evaluate marking quality, processing speed, and machine configuration so you can select a solution that fits your material and production goals.
News | Sep-14-2026
News | Sep-11-2026