Blog
In a field that evolves daily, staying ahead means staying informed.
Explore in-depth articles designed to help you solve complex challenges,
maximize your machine’s ROI.
Stay ahead in a competitive market.


In a field that evolves daily, staying ahead means staying informed.
Explore in-depth articles designed to help you solve complex challenges,
maximize your machine’s ROI.
Stay ahead in a competitive market.
News | Oct-28-2026 | Mimowork
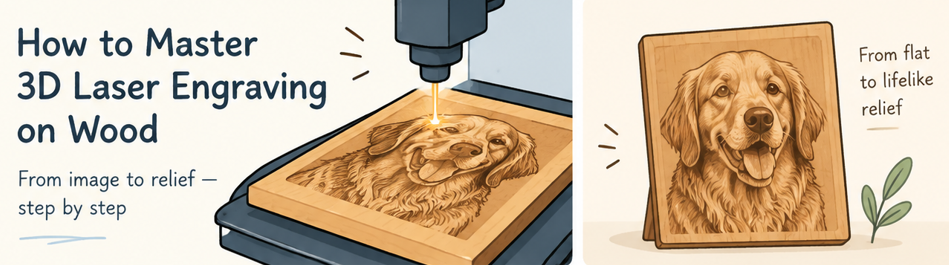
3D laser engraving wood creates dimensional reliefs by varying the depth of material removal across an image. Unlike conventional engraving, which typically produces a relatively uniform surface depth, grayscale-based engraving uses different laser exposure levels to create raised and recessed areas.
A CO2 laser engraver can produce portraits, decorative reliefs, textured panels, and custom wooden gifts when the image, material, and processing parameters work together. However, the final depth and surface quality depend on the laser’s capabilities, wood density, focus, and the number of passes.
So, how do you turn a flat image into a convincing 3D wood relief without losing fine details or creating an uneven surface? This guide walks you through heightmap preparation, wood selection, laser parameter testing, and finishing techniques to help you achieve more consistent results.
Traditional 2D engraving generally emphasizes outlines, text, and surface contrast. The laser follows defined paths or raster patterns to create graphics with relatively limited depth variation.
By contrast, 3D relief engraving uses different engraving depths to represent height and shape. Facial features, landscape contours, and decorative patterns can transition gradually from shallow to deep areas, creating a sculpted appearance when illuminated.
The process does not automatically reproduce a complete three-dimensional object. It creates a relief by removing material from a flat or shaped workpiece, so the maximum depth, surface slope, and fine-detail resolution remain limited by the machine and material.
For buyers evaluating 3D wood laser engraving, the important factors include grayscale processing capability, available laser power, motion control, focal characteristics, and the required relief depth.
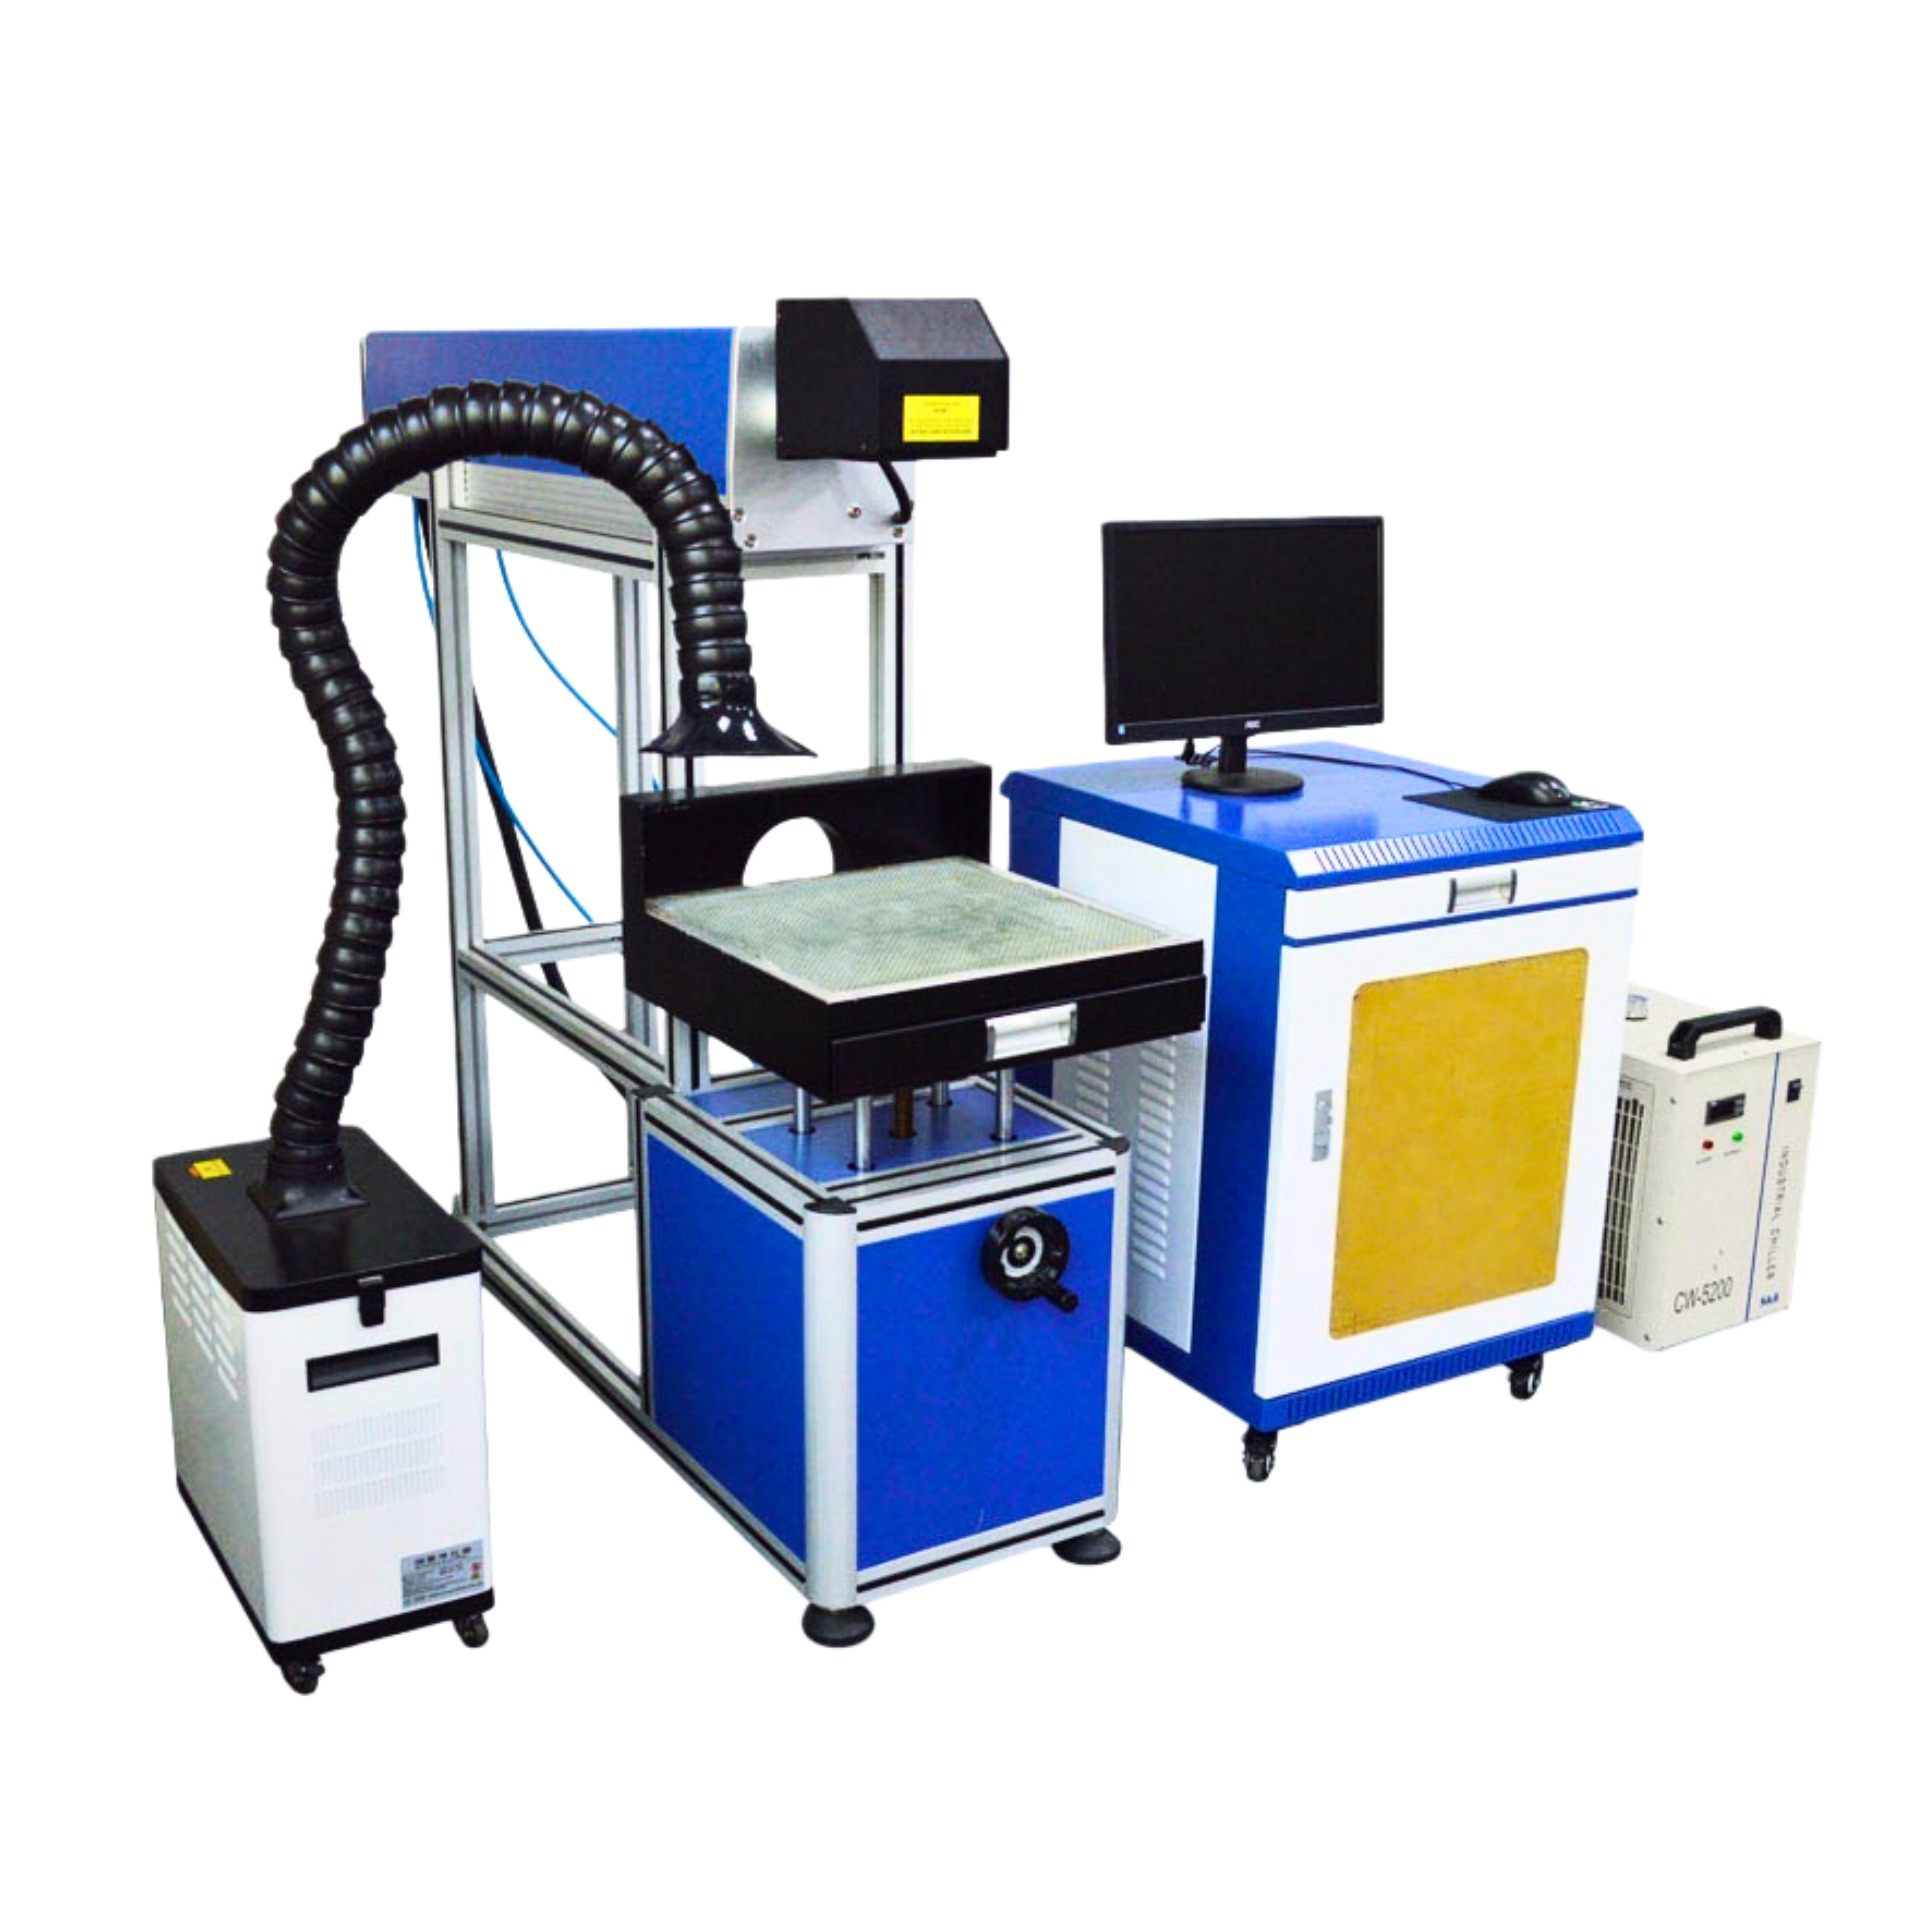
A CO2 laser removes wood through localized heating and material decomposition. By changing the laser energy delivered to different image regions, the machine can remove different amounts of material and produce variations in surface height.
Grayscale images provide the depth information. The software maps pixel values to laser output, scan behavior, or other processing parameters. Darker pixels may represent deeper areas and lighter pixels shallower areas in one workflow, but another workflow may reverse this relationship.
The mapping depends on image inversion, software settings, and the machine’s control method. Therefore, always confirm the grayscale direction with a small test before engraving a full panel.
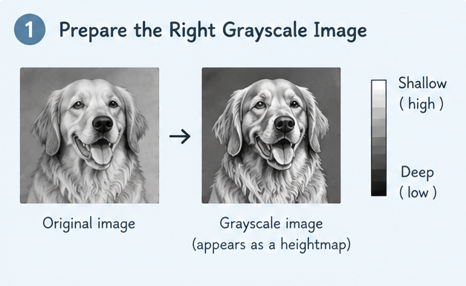
A heightmap represents surface elevation using image brightness. Each pixel corresponds to an intended height or engraving depth, allowing the software to translate image tones into different processing levels.
In a common engraving workflow, black represents the deepest recessed areas and white represents the highest remaining surface. Gray tones indicate intermediate depths. If the software uses the opposite mapping, the image must be inverted accordingly.
For portraits, decorative reliefs, and sculpted textures, the image should contain gradual tonal transitions rather than only pure black and white. Strong contrast can define the main features, while intermediate gray values help preserve a sense of depth.
Before processing, verify the image orientation, grayscale mapping, and expected depth range in the engraving software.
Image resolution influences how accurately the engraving reproduces small features. Low-resolution artwork can produce blocky contours, while excessive resolution may increase processing time without improving the actual detail that the laser can reproduce.
Choose a resolution appropriate for the intended engraving size, laser spot, and material. Fine facial features may need more detail than a broad decorative pattern, but higher image resolution cannot overcome limitations in beam focus or wood grain.
Smooth tonal transitions are equally important. Abrupt changes between neighboring grayscale values can produce visible steps or bands in the relief. Adjust contrast and tonal curves to preserve gradual transitions, and preview the image at its actual output size.
Photoshop can be used to convert images to grayscale, adjust contrast, remove unwanted backgrounds, and refine tonal transitions. LightBurn supports raster image preparation and laser-processing workflows on compatible machines. ArtCAM and similar relief-design software can help create or edit heightmaps for applications that require more specialized surface modeling.
Software capabilities vary by version and machine configuration. Confirm that the selected software supports the intended grayscale or relief workflow before building a production process around it.
For reliable results, prepare a clean image, crop it to the workpiece dimensions, and test a small representative section before engraving the entire design.
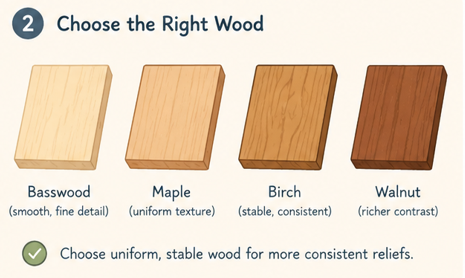
Three-dimensional engraving benefits from wood with consistent density, a relatively uniform structure, and minimal knots or resin pockets. Variations in grain and hardness can cause neighboring areas to engrave at different rates, even when the laser receives the same programmed settings.
Basswood is often a practical choice for decorative reliefs because its relatively soft, workable structure can support detailed engraving. Cherry and maple offer attractive natural finishes, although their greater density may require more processing time or additional passes.
MDF has a comparatively uniform fiber structure, which can help produce consistent tonal results. However, its binder composition, smoke generation, and material suitability must be checked before laser processing.
When selecting wood for CO2 laser engraving wood, prioritize predictable engraving behavior over density alone. A consistent material is often easier to calibrate than a board with highly variable grain.
Pine and other resin-rich woods may produce uneven discoloration around knots and resin pockets. Natural boards with pronounced grain variations can also create inconsistent depth, making delicate transitions harder to reproduce.
These materials are not automatically unsuitable for every project, but they may require additional testing and finishing. For highly detailed reliefs, avoid stock with large knots, cracks, resin deposits, or obvious density variations in the engraving area.
Also verify that the wood, coatings, adhesives, and treatments are suitable for laser processing. Never use pressure-treated wood or unknown composite materials without confirming their composition and safety.
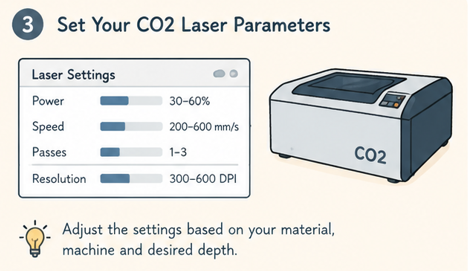
Pulse-width modulation (PWM) controls the proportion of time a laser output is active within a pulse cycle, subject to the laser source and controller’s capabilities. It can help regulate effective output, but it is not identical to grayscale image mapping.
Grayscale power control determines how image tones are translated into processing commands. Depending on the system, these commands may change laser power, pulse behavior, or another supported parameter.
For wood laser engraving settings, confirm that the laser source and controller support the intended modulation and grayscale workflow. Begin with conservative settings, then test how different image tones translate into actual engraving depth.
Excessive power or slow scanning can cause deep charring and loss of detail. Insufficient energy may leave darker regions too shallow to create the intended relief. The objective is to achieve a predictable depth range while preserving transitions between neighboring tones.
Correct focus is essential for maintaining detail and controlling material removal. However, a deep relief presents a challenge: as the laser engraves downward, the surface moves away from the original focal plane.
A longer focal-length lens, such as a 3-inch or 4-inch lens where compatible, may provide greater working clearance or a more suitable depth of field for certain applications. The trade-off is that the beam spot and achievable fine-detail resolution may differ from those of a shorter lens.
Lens selection should account for the required relief depth, working area, spot size, machine compatibility, and the smallest details in the artwork. A longer lens is not automatically better for every 3D engraving job.
For deep designs, consider whether staged engraving, focus adjustment between passes, or a different processing strategy is needed. Test the complete depth range before committing to a large workpiece.
Air assist directs airflow toward the processing area, helping remove debris and manage heat. Appropriate airflow can reduce loose carbonized material and help keep the engraving area clearer.
However, excessive airflow may alter the surface appearance or disturb lightweight debris without solving the underlying cause of overburning. Adjust airflow according to the machine manufacturer’s recommendations and the desired finish.
A suitable fume extraction system removes smoke and airborne contaminants generated during engraving. Effective extraction helps reduce residue on the workpiece and deposits inside the machine.
Wood engraving can create combustible debris, and the process carries a fire risk. Keep the work area clean, maintain extraction equipment, follow the manufacturer’s safety instructions, and never leave the laser operating unattended.
Related guide:https://www.mimowork-laser.com/blog/best-laser-engraver-for-wood
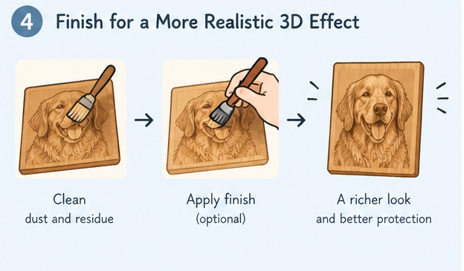
After the workpiece has cooled and the laser is no longer operating, remove loose wood dust and carbonized particles using a soft brush. A suitable vacuum or approved cleaning method can help clear recessed areas without damaging delicate features.
Avoid aggressive scrubbing that rounds off shallow transitions or removes fine details. If additional cleaning is necessary, test the method on a sample first.
Isopropyl alcohol is not universally suitable for every wood finish or coating. It is also flammable, so do not apply it near an operating laser or another ignition source. Follow the product safety instructions, ensure any solvent has fully evaporated, and verify compatibility before use.
Light sanding can smooth selected raised surfaces and remove minor residue, but excessive sanding may flatten the relief or erase fine details. Use an appropriate abrasive and work carefully around narrow contours.
Finishing products can enhance contrast by changing the wood’s color and surface reflectivity. Wax may provide a subtle sheen, while suitable oils can deepen the appearance of some woods. A clear coat can help protect the surface and produce a more uniform finish.
Always test the chosen finish on a sample, particularly when the engraving contains deep recesses. Apply coatings only after the workpiece has been thoroughly cleaned and dried, and follow the manufacturer’s curing and ventilation instructions.
The goal is to emphasize the interplay of highlights and shadows without filling recessed details or obscuring the relief’s texture.
First, verify the grayscale mapping and check whether the image is being interpreted in the intended direction. Then review laser power, scan speed, focus, and the material’s density.
If the relief remains too shallow, adjust the processing parameters gradually or consider additional passes. Keep in mind that repeated passes can increase heat damage and may not improve fine details proportionally.
Pronounced layers or terraces often indicate abrupt tonal transitions, limited image resolution, or insufficient grayscale gradation. Refine the heightmap and run a smaller test before repeating the full job.
Blurry details can result from incorrect focus, an unsuitable lens, excessive energy, or artwork that contains features smaller than the machine can reproduce. Check the optics and focus position, then evaluate whether the image resolution matches the actual engraving capability.
For severe charring, test faster scanning or lower power while maintaining sufficient material removal. Improve extraction and airflow where appropriate, and inspect the wood for resin pockets or uneven density.
If the material itself produces inconsistent results, switching to a more uniform wood may be more effective than repeatedly changing machine settings.
Large reliefs can introduce uneven heating, particularly when extensive areas are engraved deeply. Thin or poorly supported boards may also warp because of existing moisture variation or internal stress.
Start with flat, properly conditioned material and secure it using a suitable workholding arrangement. Avoid excessive energy concentration in one region, and test the planned engraving strategy on a representative sample.
For large designs, consider dividing the artwork into controlled sections where appropriate, while maintaining consistent settings and alignment. Ensure the workpiece remains supported throughout the process, and allow it to cool before removing it from the machine.
Mastering 3D laser engraving wood requires more than a high-powered laser. The image must contain usable depth information, the wood must respond consistently, and the machine must translate grayscale values into controlled material removal.
Prepare a smooth heightmap, select suitable wood, verify the grayscale mapping, and test power, speed, focus, and airflow before engraving a complete panel. Careful cleaning and finishing can then reveal the relief’s depth without sacrificing fine details.
With 20 years of experience in the laser industry, MimoWork brings practical knowledge of materials, engraving applications, and CO2 laser technology to every project. Contact MimoWork to test your wood samples and find the right laser solution for your engraving needs.
News | Sep-4-2026